
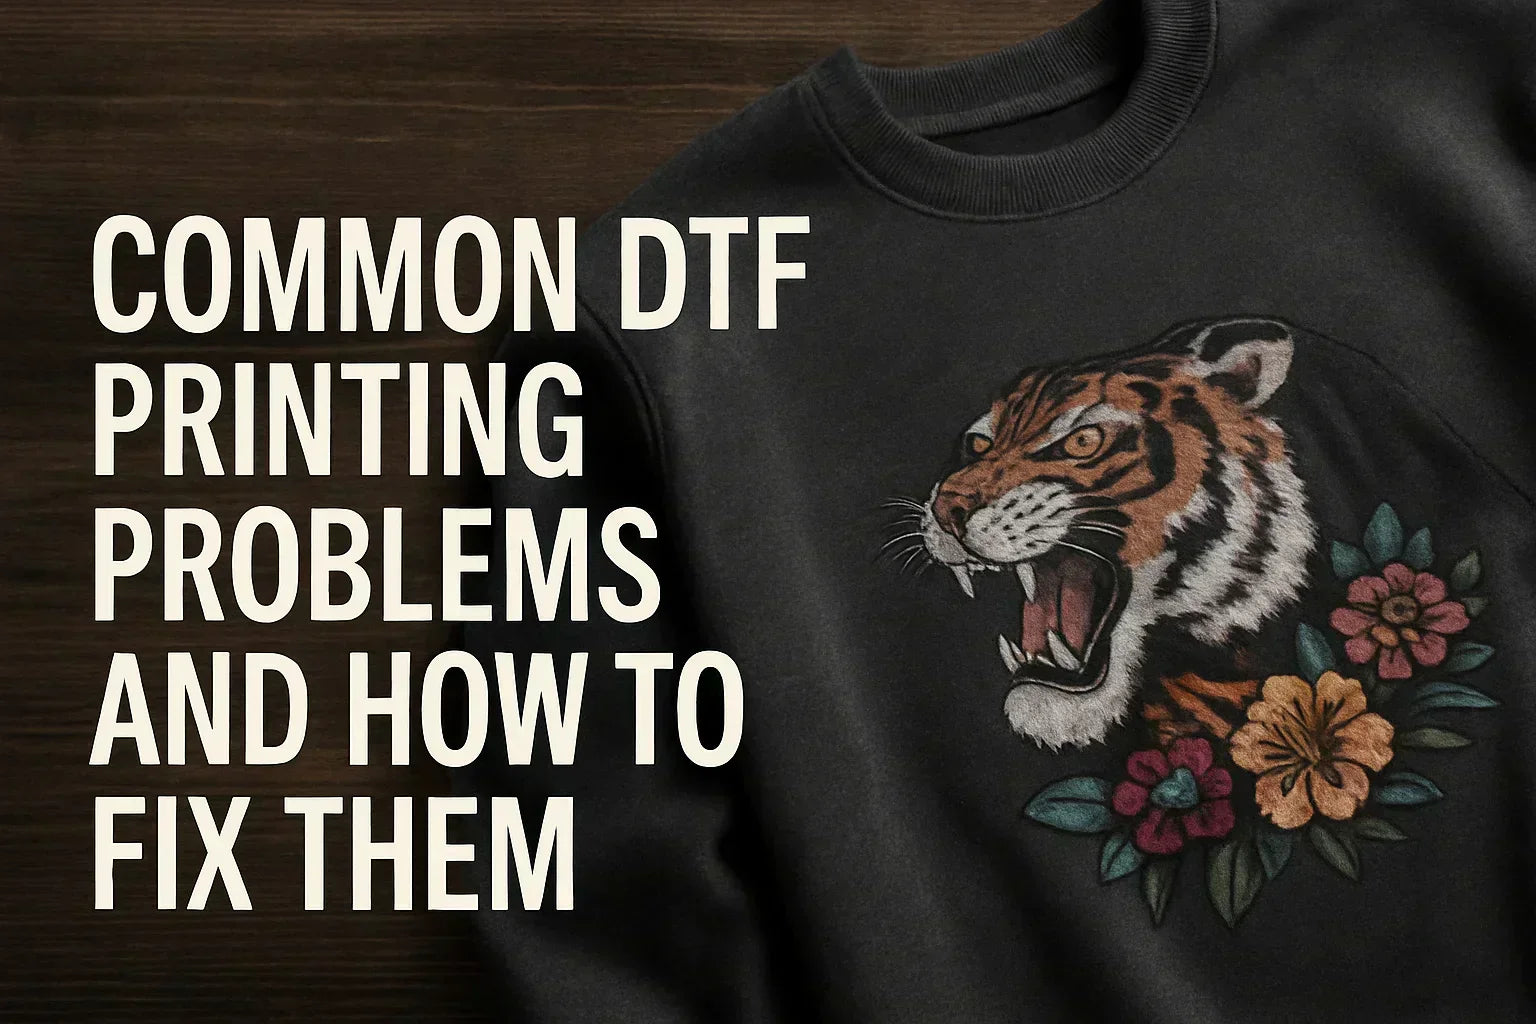
Introduction
The DTF printing process is one of the fastest-growing methods in custom apparel printing because it delivers bright colors, long-lasting prints, and works on almost any fabric. Instead of printing directly onto the garment, the DTF printing process transfers your design from a special film onto the fabric, making it perfect for t-shirts, hoodies, tote bags, and other apparel.
What makes it even better is its versatility. Whether you’re printing on cotton, polyester, blends, or textured materials, the DTF printing process gives you sharp details and a durable finish every time. That’s why small clothing brands, print-on-demand sellers, and custom apparel creators love it.
In this blog, we’ll break down the entire DTF printing process step-by-step, show you the tools you’ll need, and share easy tips to avoid common mistakes—so you can achieve clean, professional-quality results from start to finish.
Key Takeaways
- A clear step-by-step breakdown of the full DTF printing process
- Learn what equipment and materials you need for the best results
- Avoid common mistakes and get pro tips to improve print quality
- Discover how Aesthetic Bk delivers industry-standard DTF printing services
What is DTF Printing?
DTF printing (Direct-to-Film) is a modern way to print designs on clothes. In DTF printing, the design is printed onto a special film using DTF inks. An adhesive powder is then applied to the wet print. Once the powder is heated and melted, the film is placed on the fabric and pressed with a heat press to transfer the design.
Unlike Direct-to-Garment printing, which works best only on cotton, DTF printing can be used on many types of fabrics like cotton, polyester, blends, and more. It’s flexible, fast, and great for both small and large batches.

Essential Materials and Equipment for DTF Printing
To get the best results from the DTF printing process, it's important to use the right tools and materials. Each item plays a key role in making sure your prints come out clean, colorful, and long-lasting. Here's what you'll need:

1. DTF Printer
A DTF printer is usually a modified inkjet printer that can print using special DTF inks. It supports both CMYK (color) and white pigment inks. This printer is made to handle the unique printing needs of the DTF process.
2. PET Film
This is a clear, heat-resistant film that holds your design before it's transferred to fabric. Always choose high-quality, anti-slip PET film to avoid smudging and ensure sharp, clean prints.
3. DTF Inks
DTF inks are specially designed, water-based inks created to work perfectly with the DTF printing process. You’ll need five main colors: Cyan, Magenta, Yellow, Black, and White. These inks give your designs bright and bold colors on all types of fabric.
4. Adhesive Powder
This white powder is sprinkled onto the printed design before heating. Once melted, it works like glue, helping the ink stick firmly to the fabric. Spreading it evenly ensures a smooth and lasting finish.
5. Heat Press Machine
A heat press helps move the printed design from the film onto the fabric by applying heat and pressure. It must allow you to control the temperature, time, and pressure to make sure the design sticks well and looks professional.
6. RIP Software
RIP (Raster Image Processor) software helps you manage your print files. It controls ink levels, color profiles, and where white ink should be placed. Popular RIP software includes AcroRIP and Kothari.
7. Work Area and Ventilation
A clean and well-ventilated work area is very important. Good airflow helps the ink and powder dry properly, while a dust-free space keeps prints looking neat and clear.
8. Gloves and Safety Gear
While handling adhesive powder and heated equipment, it’s best to wear gloves. Avoid touching ink or powder directly, and stay safe when using curing tools and the heat press.
9. Curing Tools
After applying the powder, you’ll need to cure it before pressing. This can be done using a heat gun, curing oven, or a special tunnel dryer. The goal is to melt the powder evenly without burning the film.
10. Manufacturer Recommendations
Always use the guidelines given by your printer, ink, and film makers to get the best results and avoid printing issues. They offer important guidelines for temperature settings, print quality, and maintenance.
Step-by-Step DTF Printing Process
The DTF Printing Process Diagram explains how to print custom designs onto fabric using DTF technology. Follow these key steps for high-quality, long-lasting prints:

Step 1: Design Preparation
Start by creating or selecting a high-quality design. The image should be at least 300 DPI for sharp results. If your design includes text or needs to face a certain way, don’t forget to mirror the image. You can use design tools like Adobe Illustrator, Photoshop, or CorelDRAW to prepare your file properly.
Step 2: Prepare the DTF Printer
Load the PET film into your DTF printer. Ensure the PET film is loaded with the correct side up—typically, the matte side should face upward. Check that your ink cartridges (CMYK and white) are filled and that your printer is clean and ready to print. Running a nozzle check before printing helps catch any ink flow issues early.
Step 3: Set Up the RIP Software
Open your design in your RIP software (like AcroRIP). Here, you will adjust settings such as color profiles, ink flow, print size, and add the white underbase layer, which helps make colors pop on dark fabrics. These settings are key for a perfect print.
Step 4: Print the Design
Begin by printing your design onto the dull (matte) side of the PET film to ensure proper ink adhesion. The printer will usually print the color layer first, followed by the white ink layer. This order ensures your design will transfer properly onto fabric and remain vibrant.
Step 5: Apply Adhesive Powder
While the ink is still fresh on the film, lightly dust the printed area with DTF adhesive powder. Gently move the film back and forth to coat the design evenly. Make sure all inked parts are covered. Then tap off the extra powder.
Step 6: Cure the Powder
Now it’s time to melt the adhesive powder so it can stick to your fabric later. Gently heat the powder using a curing oven, a heat gun, or by hovering a heat press over the film—without applying direct pressure. When the powder looks smooth and glossy (not powdery), it's ready.
Step 7: Prepare the Garment
Spread the garment smoothly on the heat press surface to get it ready for transfer. Pre-press it for about 5 seconds. This removes wrinkles and moisture, helping the print stick better during the final press.
Step 8: Position the Design
Place the cured transfer film on the garment with the printed side facing the fabric. Take a moment to line it up straight and centered. Even a small misalignment can affect the final look, so double-check the placement before pressing.
Step 9: Heat Press the Transfer
Set your heat press to 160°C (320°F) and press the film onto the garment for 15–20 seconds using medium pressure. Always check the film manufacturer's instructions as settings might vary slightly.
Step 10: Peel and Repress
After pressing, wait for the film to cool down completely if it’s cold peel. If it's a hot peel, remove the film right away. After peeling off the film, press the design again for 5 seconds using a cover sheet to lock it in place. This helps seal the print and make it more durable.
Common Mistakes to Avoid During the DTF Printing Process
Avoiding these common dtf printing mistakes can help you get better prints, reduce waste, and save time:
1. Over or Under Curing
If you apply too much or too little heat when curing the adhesive powder, the design may not stick well to the fabric. Over-curing can burn the film, while under-curing may cause poor adhesion, leading to peeling after washing.
2. Wrong Print Settings
Incorrect print resolution, ink levels, or color profiles can result in dull colors, blurry images, or ink bleeding. Always check your RIP software settings before printing to make sure they match the type of film and fabric you're using.
3. Using Low-Quality Materials
Cheap or substandard films, inks, and powders can ruin your prints. They often lead to color fading, weak transfers, and cracked designs. Use top-quality materials to ensure your prints last longer and look more professional.
4. Skipping Pre-Pressing the Fabric
Not pre-heating the garment before transferring can leave moisture or wrinkles on the fabric. This prevents the design from sticking properly and may cause uneven transfers or bubbles in the print.
5. Not Shaking White Ink Regularly
White ink settles quickly in the bottle. If not shaken well before use, it can clog your printhead or result in faded, patchy white underbases. Always shake white ink thoroughly before printing to ensure smooth, consistent flow.
Tips for High-Quality DTF Printing Results
Want clean, vibrant, and long-lasting DTF prints? Follow these simple but effective tips to improve your print quality and avoid common issues:
1. Perform Regular Maintenance
Keep your printer and heat press in good shape with routine maintenance. Clean printheads, check nozzles, and inspect rollers to prevent clogs and banding. A well-maintained machine prints better and lasts longer.
2. Use High-Quality Supplies
Always choose premium-grade ink, PET film, and adhesive powder. Low-quality materials can lead to dull prints, peeling, or cracks after washing. Good supplies are the foundation of great results.
3. Keep Your RIP Software Updated
Updating your RIP software ensures smoother workflow, accurate color output, and better compatibility with printers and file formats. New software updates usually fix errors and add better features for smoother printing.
4. Control Your Work Environment
A clean, dust-free workspace helps avoid dirt or particles sticking to your film or fabric. Also, keeping your room at a stable temperature and humidity level ensures even drying and curing.
5. Shake White Ink and Run Nozzle Checks
White ink tends to settle quickly. Shake the bottle well before each print job and run a nozzle check to make sure your printer is working smoothly. This helps avoid patchy prints or clogged printheads.
Also Read: DTF vs. DTG: What You Need to Know!
Why Choose Aesthetic Bk for DTF Printing?
At Aesthetic Bk, we make custom apparel printing simple, reliable, and high-quality. Our custom DTG printing service is perfect for soft, detailed, and vibrant designs—especially on cotton garments. If you need long-lasting prints that work on multiple fabric types, our custom DTF transfers give you bold colors, sharp details, and excellent durability.
We use advanced technology, premium materials, and a streamlined workflow to ensure every order—from one shirt to a full bulk run—meets professional standards. With fast turnaround times, consistent results, and a team that genuinely cares about your brand, Aesthetic Bk delivers custom printing you can trust.
FAQ:
Q1. How to print DTF at home?
Ans: To print DTF at home, you need a DTF printer, PET film, DTF ink, adhesive powder, RIP software, and a heat press. Prepare your design, print it on the film, add powder, cure it, and then press it onto your garment.
Q2. How to check DTF print quality?
Ans: You can check print quality by looking for sharp details, bright colors, and smooth transfer with no cracks or peeling. The print should feel soft but durable and stay intact after washing.
Q3. Which material is best for DTF?
Ans: DTF works best on cotton, polyester, and cotton-poly blends. These materials hold the design well and keep colors vibrant. Just make sure the fabric is clean and flat before pressing.
Q4. Is DTF better than DTG?
Ans: DTF printing is more versatile than DTG because it works on many fabrics like cotton, polyester, and blends. It also offers better durability and is ideal for both small and bulk orders.
Q5. How long do DTF prints last?
Ans: DTF prints can last 50 to 100 washes if done correctly. Using quality ink, proper curing, and following care instructions (like gentle washing) helps the design stay bright and strong over time.
Conclusion
The DTF printing process has quickly become a favorite in custom apparel because of its flexibility, durability, and ability to produce vivid designs on almost any fabric. Compared to traditional methods, it offers a smoother workflow and long-lasting results, making it a great choice for both small projects and larger runs.
Whether you’re exploring print on demand clothing, experimenting with custom DTF transfers, or comparing it with DTG printing, understanding the process helps you make smarter decisions for your designs. With the right approach, you can bring your ideas to life in a way that’s both creative and reliable.
4 comments
Nairi
Hello,
I run a premium streetwear brand based in the United States and am currently looking for a long-term manufacturing partner.
Product quality is our highest priority. We are only interested in high-quality cotton garments combined with durable, wash-tested printing. Our brand is positioned toward the premium / luxury streetwear segment, so fabric feel, structure, and long-term durability are essential.
Required Specifications by Product Category
100% combed cotton 220–240 GSM Boxy / relaxed fit Enzyme washed Smooth surface suitable for high-quality DTF printingT-SHIRTS
SHORTS 100% cotton French terry (loopback) 320–360 GSM Soft yet structured fabric Suitable for DTF printing
PANTS & HOODIES 100% cotton brushed fleece 400–450 GSM Heavyweight, premium hand-feel Enzyme washed Suitable for durable, wash-resistant DTF printing
What We Are Looking For Overall
High-quality DTF printing using our own designs (with proven wash durability) Premium blanks with strong structure and refined hand-feel White-label production Custom woven or printed neck labels Custom packaging (branded polybags or boxes) Order fulfillment and international shipping directly to customersCommercial Approach
High-grade fabrics Durable, high-quality printing Custom labels Custom packaging Fulfillment and international shipping servicesWe understand that premium quality requires proper investment. We are fully prepared to pay for:
We plan to start with test orders and gradually scale toward regular monthly volume. Our brand will be supported by ambassadors and influencer marketing across multiple platforms, and we are focused on building a long-term partnership, not short-term production.
Please Share the Following Information
Available fabric options matching the specifications above DTF print durability and wash-test results MOQ for samples and ongoing production Production lead times Fulfillment and international shipping timelines Branding and packaging optionsTo help us evaluate compatibility, we kindly ask you to provide:
If helpful, we can share our design mockups and product concepts after initial alignment.
Looking forward to your response.
marketing-calculator.net
Great information!
📎 Message; TRANSACTION 1,375449 bitcoin. Confirm >> https://graph.org/Payout-from-Blockchaincom-06-26?hs=8704306e21d4af3d9f111f97261bd37a& 📎
ciczmn
✏ + 1.154498 BTC.GET - https://graph.org/Payout-from-Blockchaincom-06-26?hs=8704306e21d4af3d9f111f97261bd37a& ✏
1t87h9
Leave a comment
This site is protected by hCaptcha and the hCaptcha Privacy Policy and Terms of Service apply.